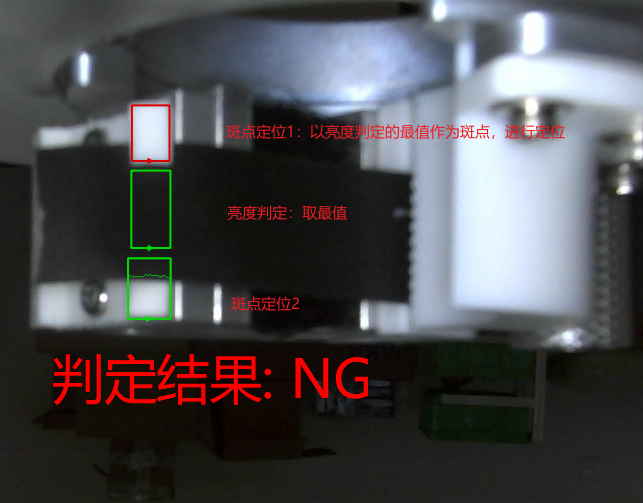
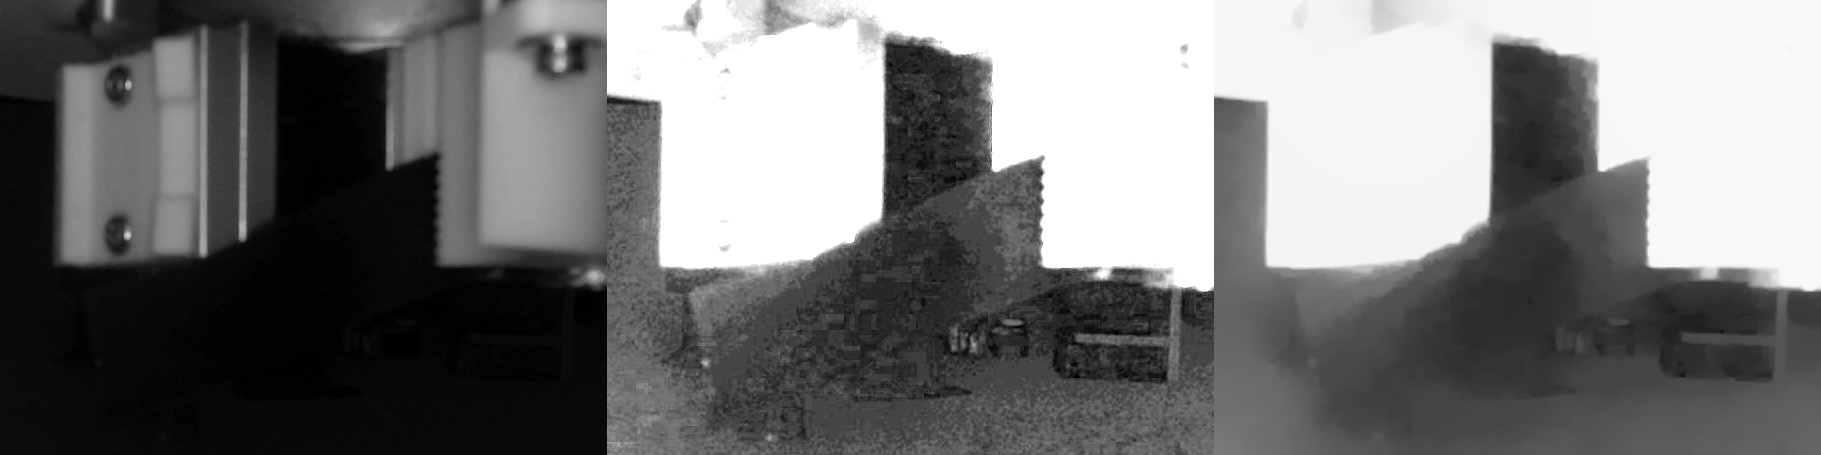
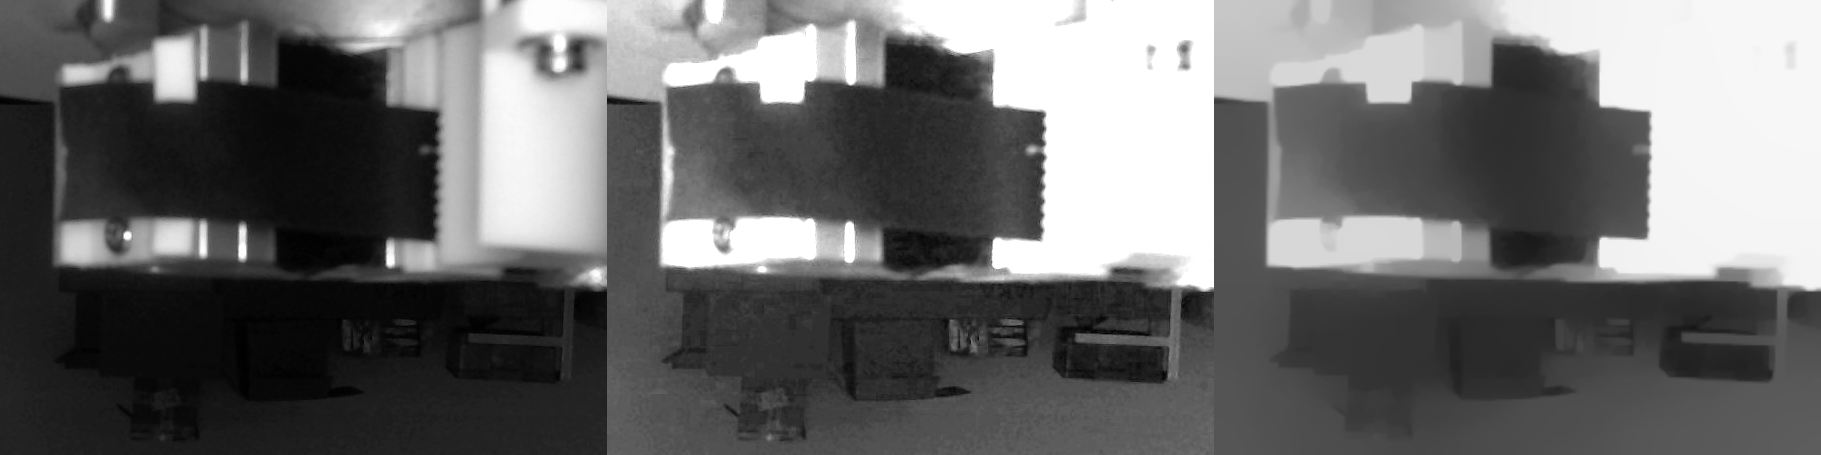
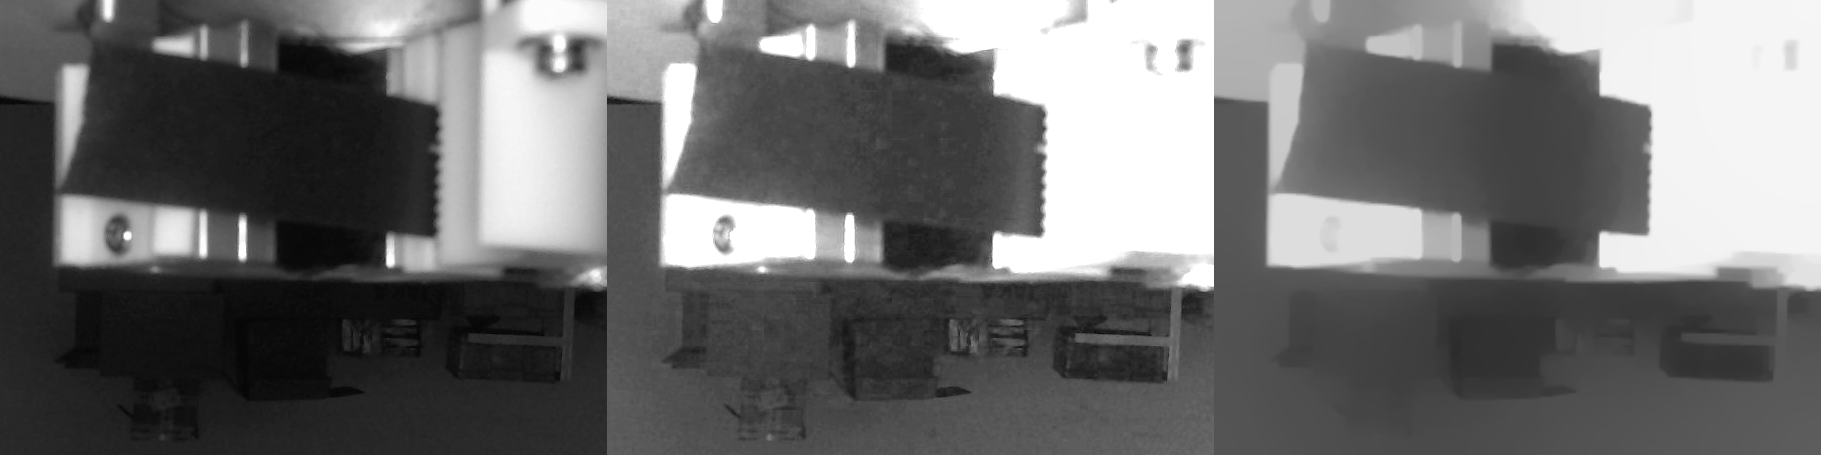
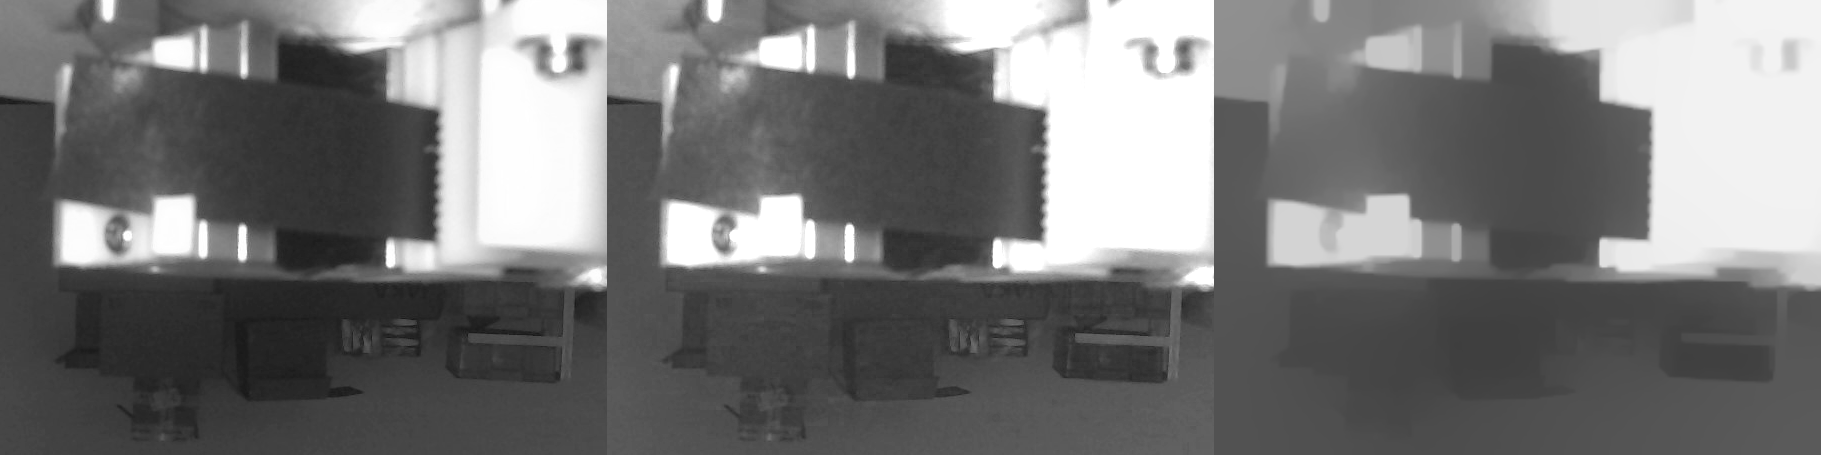
NG图像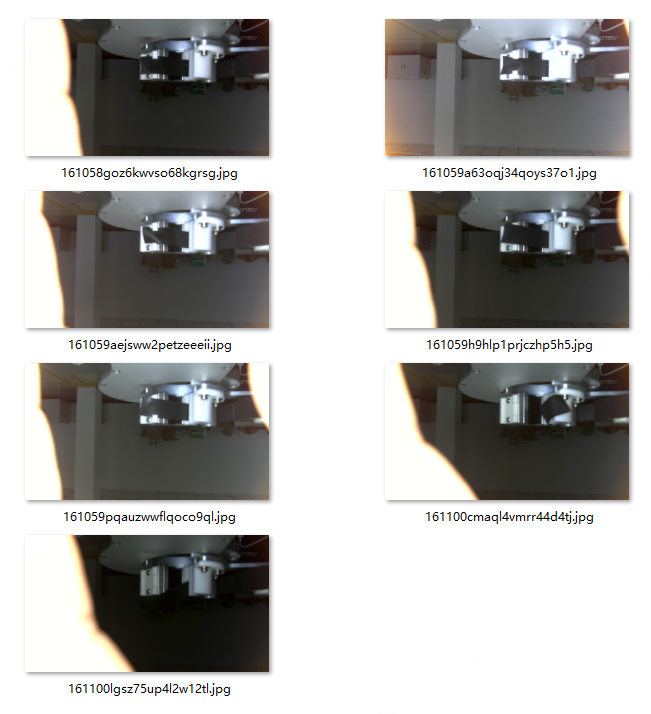
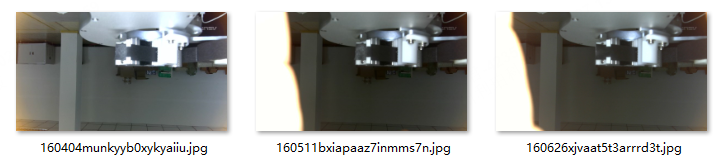
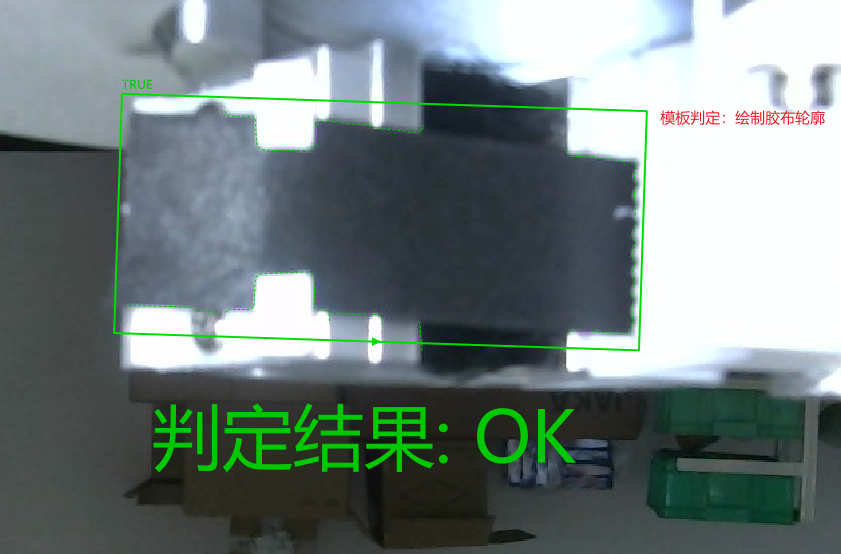
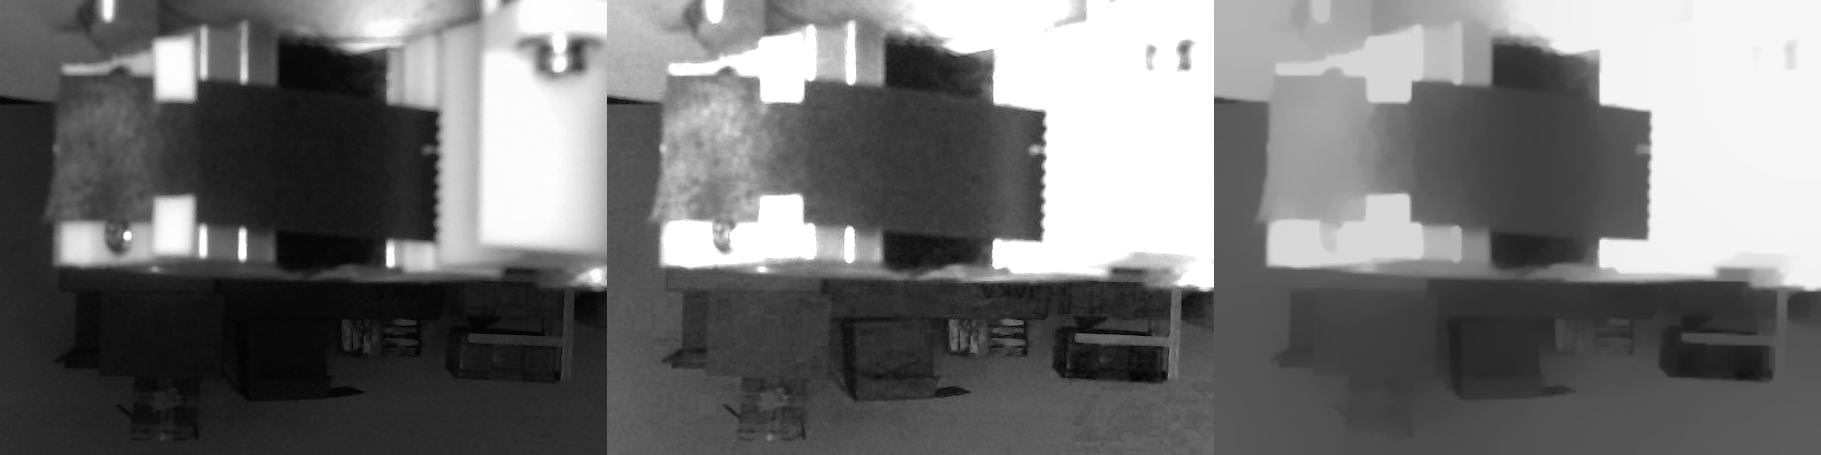
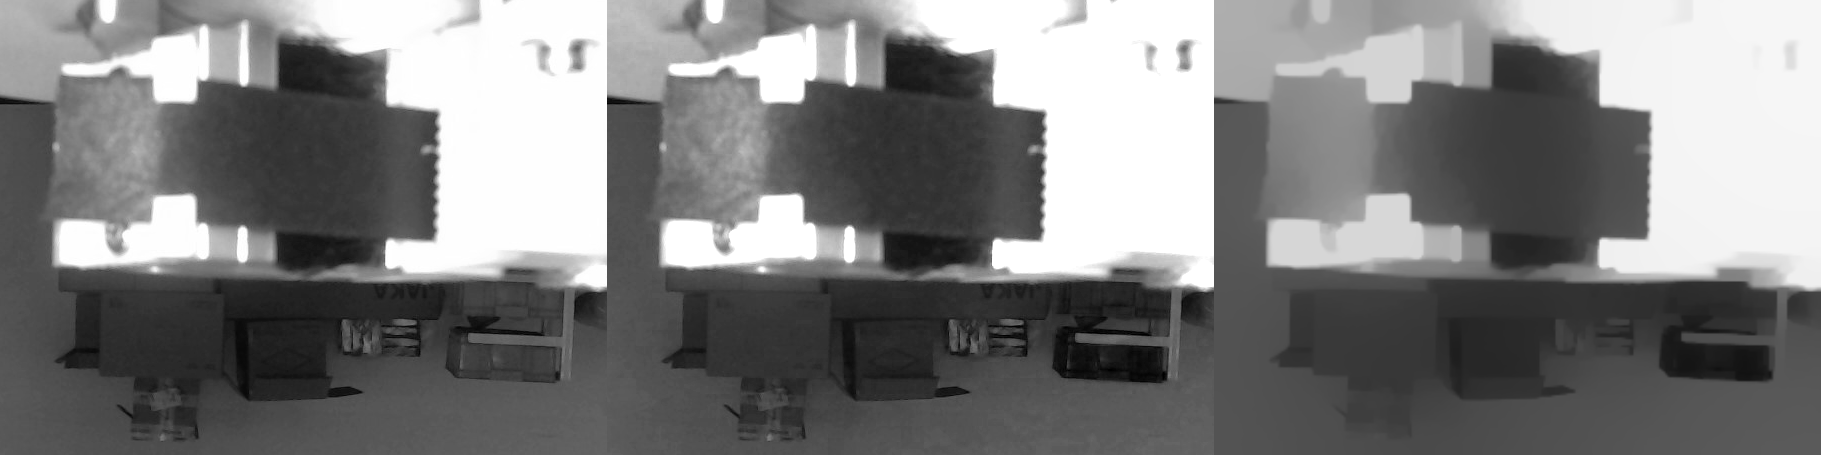
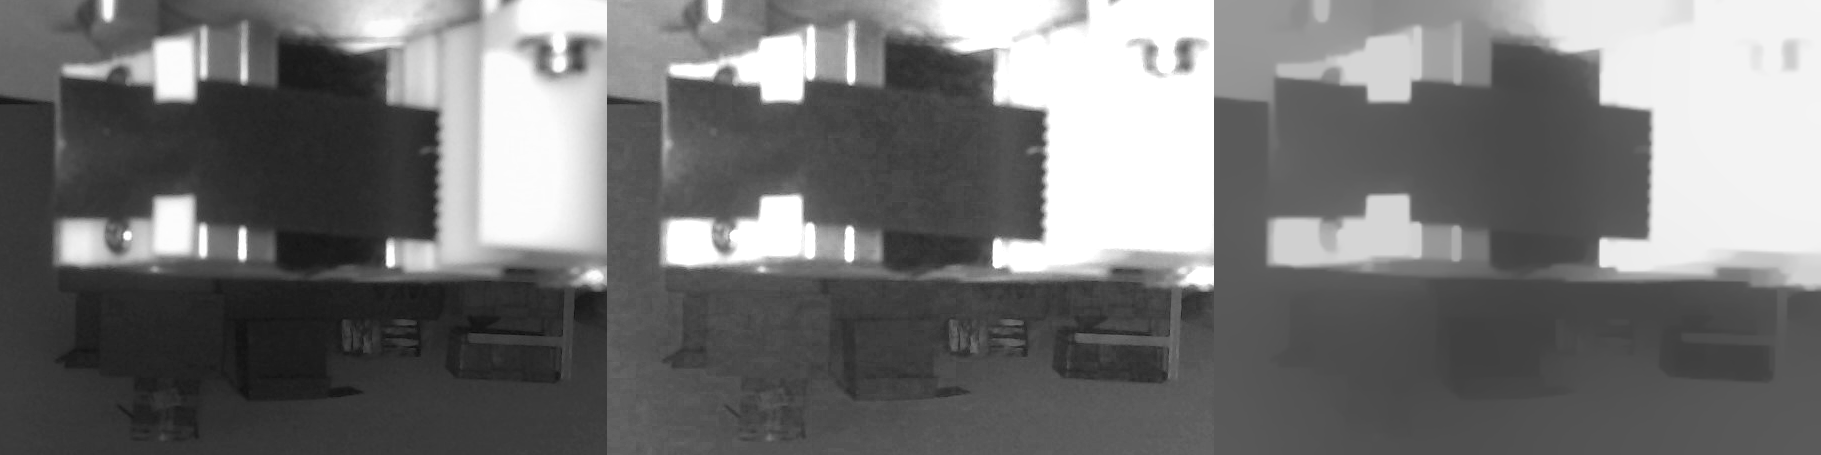
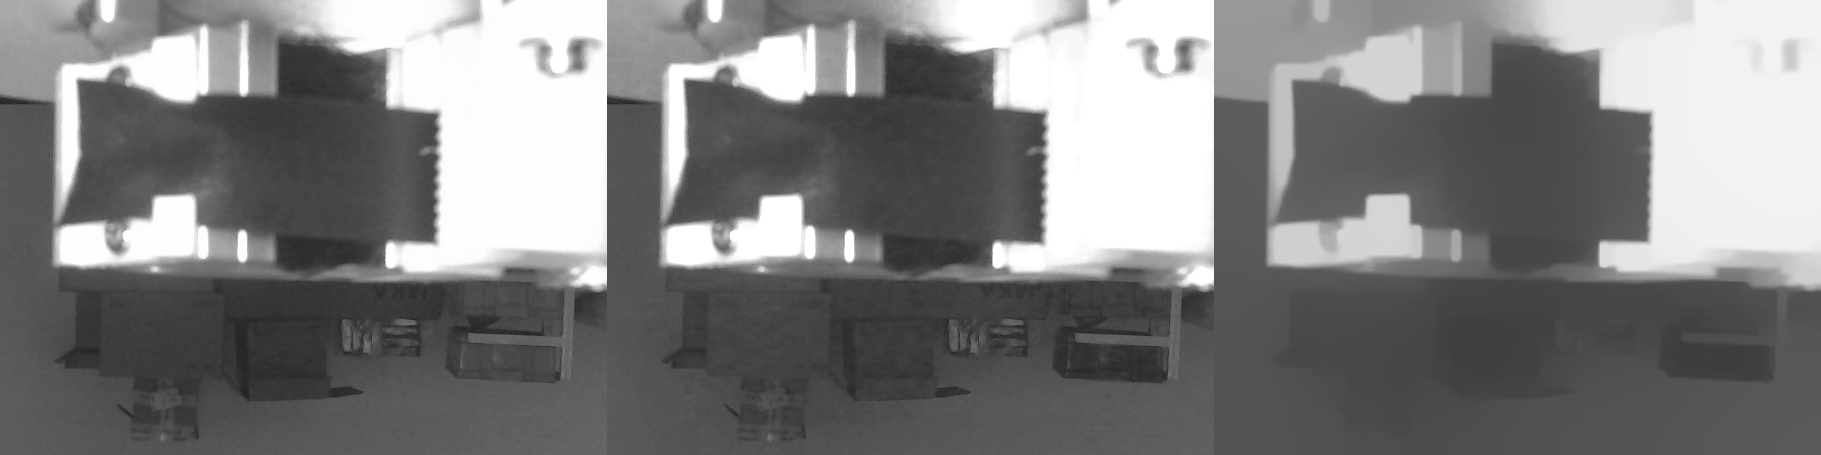
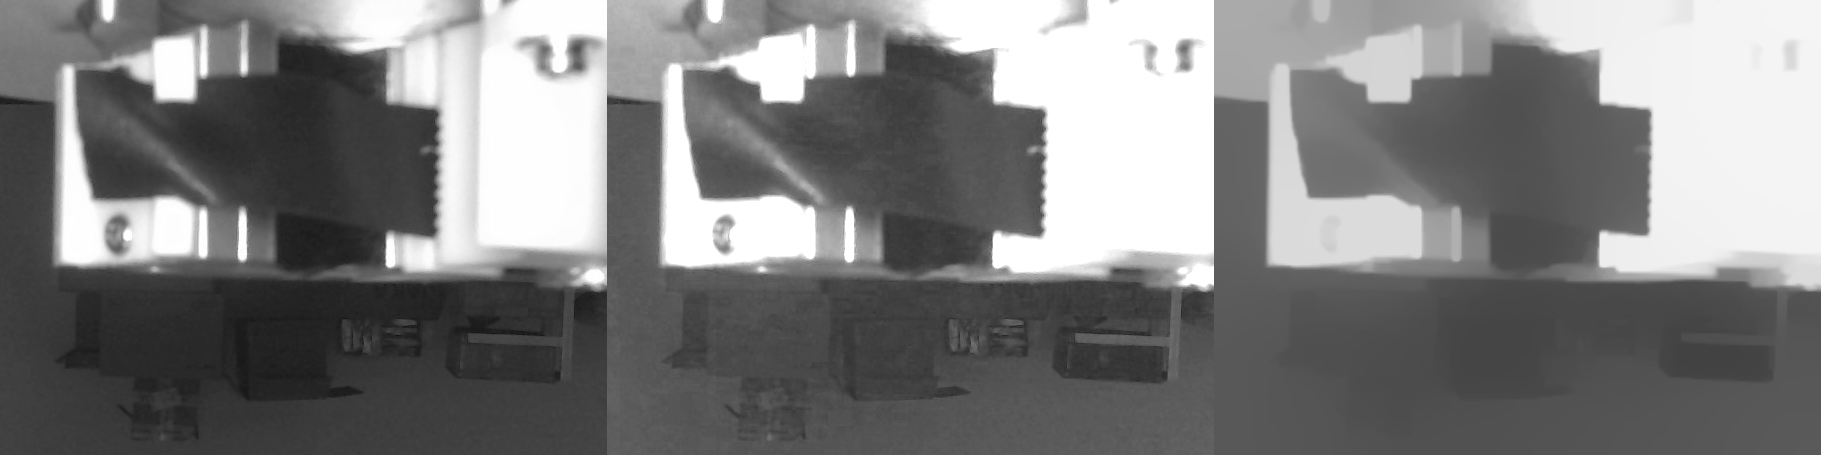
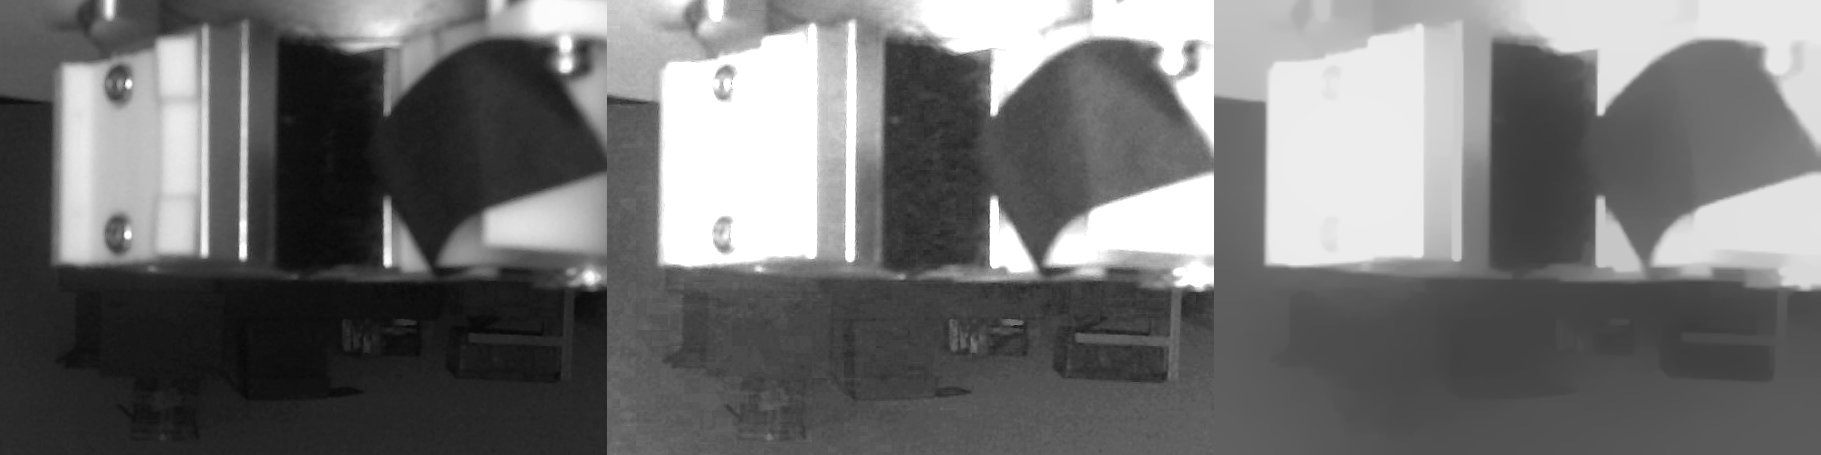
OK图像
513-环境光多变如何处理.zip
2 Answers
第一列是原图,第二列是原图做灰度矫正,第三列是灰度矫正后做降噪,因为比较暗的图被算法强制拉成高亮之后噪声会被加强

下面是halcon源码
path1 := '你的OK图文件夹'
path2 := '你的NG图文件夹'
list_files(path1, ['files'], FilePaths1)
list_files(path2, ['files'], FilePaths2)

tuple_concat(FilePaths1, FilePaths2, FilePaths)

tuple_regexp_select (FilePaths, ['result','invert_match'], FilePaths)

for Index := 0 to |FilePaths|-1 by 1

    tuple_select (FilePaths, Index, FilePath)
    read_image (Image, FilePath)

    decompose3(Image, ImageR, ImageG, ImageB)

    * 设置测量亮度用的ROI
    gen_rectangle1(BrightnessRoi, 635-19, 1325-102, 635+19, 1325+102)
    gray_features (BrightnessRoi, ImageG, 'mean', Brightness)

    * 计算亮度矫正系数
    scale := 85/Brightness

    * 矫正亮度
    scale_image(ImageG, ImageGS, scale, 0)

    * 截取感兴趣区域,方便加速后续处理,因为后续的降噪算子很耗时
    crop_part(ImageGS, ImageGSCropped, 214, 851, 606, 454)
    crop_part(ImageG, ImageGCropped, 214, 851, 606, 454)

    * 降噪(和我之前的结果不完全一致,因为halcon没有完全一样的降噪算子,这是最接近的)
    anisotropic_diffusion(ImageGSCropped, ImageAniso, 'weickert', 5, 1, 10)

    * 创建一个图片列表对象,将三个图放一起,方便拼接保存到一个图
    gen_empty_obj (ImageList)
    concat_obj(ImageList, ImageGCropped, ImageList)
    concat_obj(ImageList, ImageGSCropped, ImageList)
    concat_obj(ImageList, ImageAniso, ImageList)

    tile_images(ImageList, TiledImage, 3, 'horizontal')

    tuple_str_replace (FilePath, '.jpg', '_result', ResultFilePath)
    write_image(TiledImage, 'png', 0, ResultFilePath)

endfor